Live Video Image Capture Controls |

|

|
|
Live Video Image Capture Controls |
|
|
Live Video Image Capture Controls |
|
|
|
Live Video Image Capture Controls |
|
|
|
|
||
The Live Video Capture toolbar has these controls:

Cancel - exits the procedure without capturing a image.

Pause - pauses the live video preview (like a "freeze frame").
Note: after the video preview is paused, the button changes to:

Resume - resumes the live video preview.
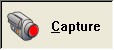
Capture - captures the current image frame and exits the procedure.
There is also a drop down listbox that displays all of the video capture devices that were detected on the system. The current active selection is automatically displayed.
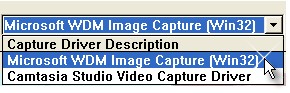
If the user changes a selection then the changes are stored and reloaded the next time the Live Video Capture procedure is opened.
Pulldown Menu Options

File --> Exit that is just like clicking the cancel button.
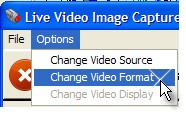
The Options menu has three selections.
Note: Based on the capabilities of your capture device, ProImage may disable one or more of these.
The dialog windows that are displayed when these options are selected are generated by the capture device driver. As such they will vary from one device to another. Some examples are shown below:
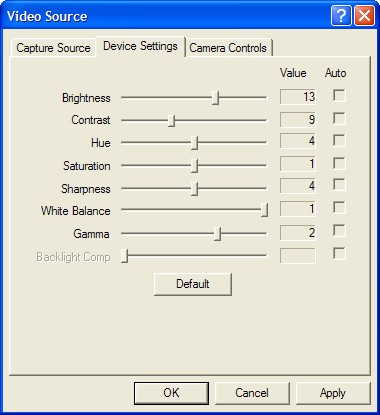
Change Video Source
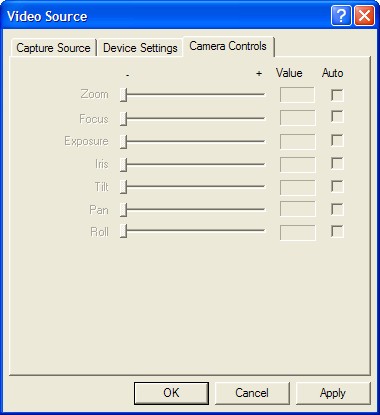
This option displays a dialog box in which the user can control the video source. The Video Source dialog box might contain controls that select input sources; alter the hue, contrast, brightness of the image; and modify the video quality before digitizing the images into the frame buffer.
Here is an example of this dialog:

Change Video Format
This option displays a dialog box in which the user can select the video format. The Video Format dialog box might be used to select image dimensions, bit depth, and hardware compression options.
Here is an example of this dialog:


Change Video Display
This option displays a dialog box in which the user can set or adjust the video output. The Video Display dialog box might contain controls that affect the hue, contrast, and brightness of the displayed image, as well as key color alignment.
We do not have an example of this dialog.
Making Changes
Once you make a change to any of these selections ProImage will resample the capture device and make whatever adjustments (if any) are needed for the live video capture preview.
Note: The procedure window is sized so that ProImage can fit up to a 640x480 preview area. Most inexpensive cameras do not look good at this resolution however so your user will need to select the option that works best for them based on their hardware.
The preview screen will be adjusted automatically based on the device settings.
This can be from a very small capture preview as shown here:

Or a very large preview as shown here:
