Planning Aspect Ratios |

|

|
|
Planning Aspect Ratios |
|
|
Planning Aspect Ratios |
|
|
|
Planning Aspect Ratios |
|
|
|
|
||
Along with the size and orientation of your images, the other important thing you need to plan for is the "Aspect Ratio".
Simply put - this is the relationship between the height and width of your images - and the viewers where they are displayed.
Consider this photo:
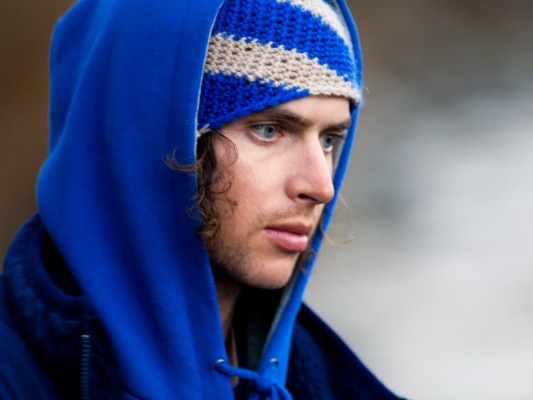
This image (created by ProImage) is 533 pixels wide and 400 pixels tall.
Calculating the aspect ratio
To calculate the aspect ratio, just take the larger number and divide by the smaller one.
In this example 533 / 400 = 1.3325 or simplified: 1.3
This means that the aspect ratio of this photo is 1.3 to 1 (usually represented as 1.3:1).
Do NOT mix and match aspect ratios!
If you use a visual target set at one aspect ratio and create an output image set at another aspect ratio, the results can be quite undesirable. Consider this example:
The Visual Target Indicator is set at 400 x 266. This gives it an aspect ratio of 1.5:1 ( 400 / 266 = 1.5037 or 1.5 to 1 )
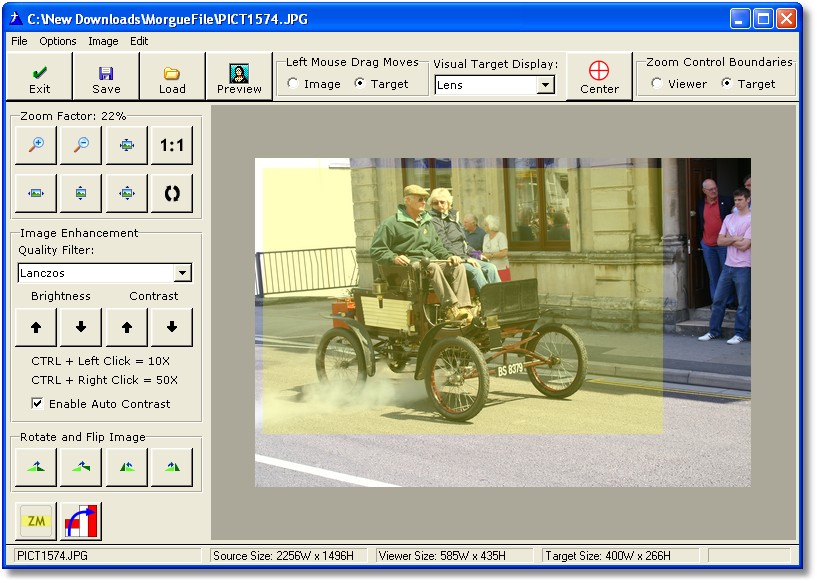
If we create the screen image at 400 x 266 then "what you see is what we get" ( WYSIWYG).
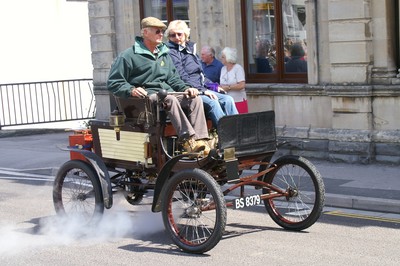
We can even increase the size of our screen image output to 533 x 400 and we get:

Both of these images look good and are an actual representation of what we wanted because even though they are different sizes, the aspect ratio is the same.
400 / 266 = 1.5037 or 1.5 to 1
533 / 354 = 1.5056 or 1.5 to 1
What happens if the aspect ratios are different?
Consider this image:

In this case, the Visual Target System was still set at 400 x 266, but the screen image was set at 533 x 213.
The Visual Target Indicator had an aspect ratio of 1.5:1 ( 400 / 266 = 1.5037 or 1.5 to 1 )
The Screen Image had an aspect ratio of 2.5:1 ( 533 / 213 = 2.5023 or 2.5 to 1 )
The result was that the final image was "flattened" (distorted).
The bottom line
ProImage will create images exactly as you tell it to do. If this means distorting an image - then that is what happens.
However if you plan your image sizes and target sizes to use the same aspect ratio, then your images will look great!
So what size do I use and how do I calculate it?
Click here for an example
Hint: Beware of "Zoom to fit" distortion ( or pixelation) as you display your photos
ImageEx viewer controls have a command/option called "Zoom to Fit" or "Zoom to best fit".
This works well when the image is larger than the viewer size as it causes the image to be reduced to fit within the boundaries of the viewer.
However if the image is smaller than the viewer size - then it can have the adverse affect of magnifying your image. If there is a great difference in the size of the image vs the size of the viewer, the end result can be that your image (while perfectly good as a file) will appear pixelated in the viewer.
This is a 180 x 65 image displayed at a 1:1 (100% zoom) in a 585 x 435 viewer:
This is the same image in the same viewer - after a zoom to fit:
You can see that the first image was clear - the second is grainy, distorted and we can see 'artifacts" from the magnification of the image.
You can eliminate this behavior by using this Coding Tip to add a few lines of code at an embed AFTER the image is loaded.
A note about Aspect Ratios and TrueView Image Protection.
With TrueView Image Protection, your images would not be distorted, but if you don't plan for your output images to have the same aspect ratio then the image area selected by the target will be resampled and scaled to fit within the bounds of your target settings. This could result in different shaped images in the same set from the same view.