Image Size Planning |

|

|
|
Image Size Planning |
|
|
Image Size Planning |
|
|
|
Image Size Planning |
|
|
|
|
||
Feature: TrueView Image Protection ( click here for more information on it )
When a user crops a area from a photo or resizes the Visual Target System, TrueView Image Protection automatically resamples the image and resizes the output to prevent distortion of the image at all times. The output size is never allowed to exceed the target sizes (on thumbnails, screen images or print images) and the aspect ratio of the output image is automatically adjusted as needed.
Editors Note: The TrueView image protection will make sure that your users can not accidentally distort images, but the discussion below on how to plan for image sizes is still an important item to read.
Image Size Planning
Adding imaging to your application is easy with ProImage, but doing just a little planning in regards to your image sizes will make all the difference in the world on how good your images look in your program and as files.
There is an old expression that says: "You can't put a square peg in a round hole".
With ProImage you can - but it is not going to look very good if you do!
Taking a few minutes to plan the size and use of the images you need to produce with ProImage is a very important step you do not want to omit. There are just a few basic rules to follow - then ProImage will do all the hard work for you!
Landscape or Portrait?
The first consideration is what sort of images you need to produce. While a general purpose photo editor (like Picasa from Google) will work with either type of photo, chances are your imaging needs will be one or the other. ProImage can do both (and allow the user to switch) or you can restrict it to one or the other.
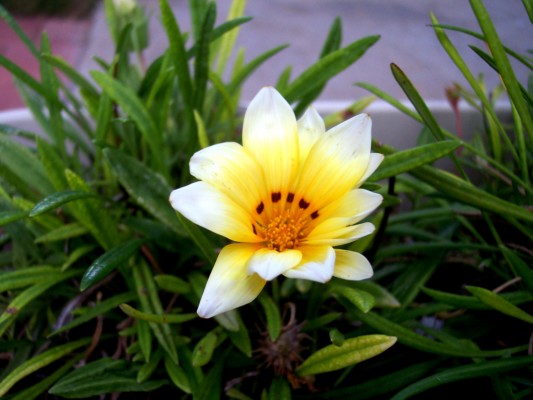
Landscape
Landscape images are horizontal in orientation ( the width is greater than the height).
Here is an example:
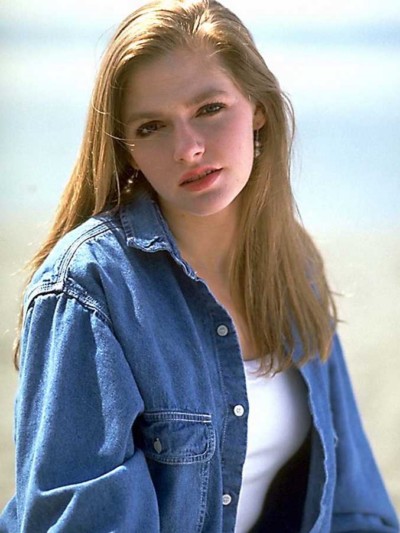
Portrait
Portrait images are vertical in orientation ( the height is greater than the width).
Here is an example:
If you are developing a program to store inventory photos, chances are you will use landscape orientation images. If you are developing a photo identification system, then you will most likely need portrait images. The image orientation in each example mentioned makes better use of the real estate (space available) in the photo.
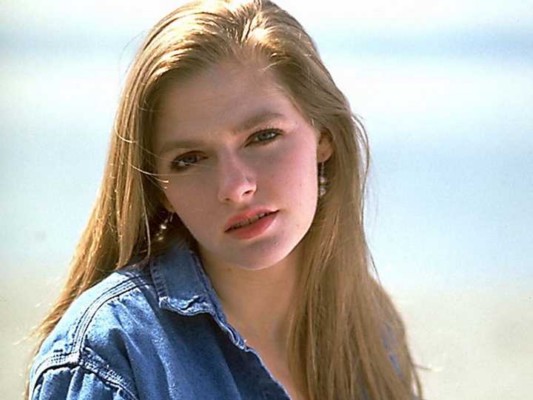
It is possible to put a portrait image in a landscape orientation, but it often changes the entire perspective of the photo and usually you can only see part of the entire image.
Here is an example:
ProImage creates "Full Frame Images"
By design, ProImage creates full frame images. These are images in which the subject content completely fills the target size - there is no "padding with whitespace" on the two short sides (as indicated by the gray area here).

Note: The Visual Targeting System is designed to prevent this sort of "padded" image from being created. If it is enabled, then you would not be able to zoom the height of the image to fit into the target. This level of protection helps your users create better photos.
Avoid Distortion
If you were to take a portrait oriented source image and fit it into a landscape sized output image, the result would look like this:

This image was created in ProImage by turning off the visual target, loading a portrait image and outputting it to a landscape size.
The point in all this is to tell you to plan for the size and orientation of your images - AND the viewer controls or image controls on reports where you will use them.
The images and the places you want to use them should (ideally) be the same orientation and the same aspect ratio.