The Image Target Tab |

|

|
|
The Image Target Tab |
|
|
The Image Target Tab |
|
|
|
The Image Target Tab |
|
|
|
|
||
The Image Target tab is where you set the what happens to the image after it receives the text.

Your options are:
Save to File
When selected this option will enable a Filename entry field. You may specify a static filename (use single quotes to enclose it such as 'MyPhoto.jpg') or specify the name of a variable to use.
File Type
If the File option is selected, then you will need to select the file type to be used when saving the file from the drop list.
Supported types are shown here:
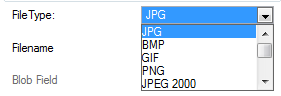
The type of file you select will control what type of ImageExSaverClass is used to save the file.
Note that the default saver options are used, but you can use the Before Saving File and Updating Control embed of the button control to set other properties:
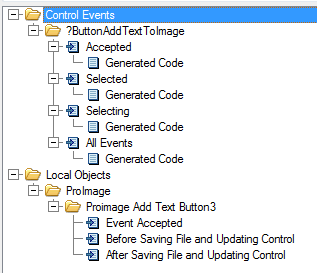
Just generate the code and look at it to get name of the ImageExSaverClass object that you want to adjust. Then enter it in the embed with standard ImageEx syntax.
Save to Blob
When selected this option will enable a Blob Field entry field where you can specify the blob to be the destination of the image. Standard ImageEx code will be used to place the image from the blob.
Save to ImageEx Bitmap
When selected this option will enable a field where you can specify the name of an ImageExBitmapClass object.
Refresh ImageEx Bitmap After Save
If the File or Blob options are selected, then this option will be enabled. If you check this the box to enable the refresh then the field where you can specify the name of an ImageExBitmapClass object will be enabled. Naming an ImageEx object will refresh the photo with text to that display as well as save it to the selected storage medium.