Using Live Video Image Capture with the Editor |

|

|
|
Using Live Video Image Capture with the Editor |
|
|
Using Live Video Image Capture with the Editor |
|
|
|
Using Live Video Image Capture with the Editor |
|
|
|
|
||
To add Live Video Image Capture to your application you first need to add the ProImage Global Extension and ImageEx.
The next step if your not using the ProImage Editor is to import the ProImage Video Capture TXA into your application.
From the Application pulldown menu activate the Utility Template selector:

Type in ProImage and highlight the ImportProImageABC item. Then click Select to import the TXA.

This will import the ProImage procedures into your application including the Live Video Image Capture.
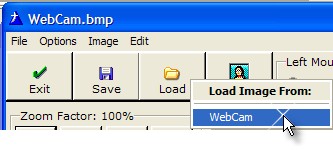
The Live Video Image Capture feature will be available in the editor from the Load Image From WebCam option.
Next follow these steps:
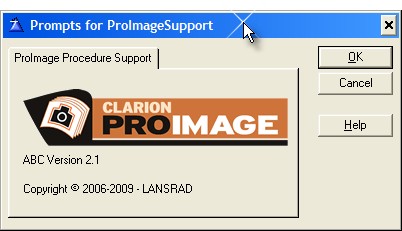
1. Add the ProImage Procedure Support extension template to your FORM.
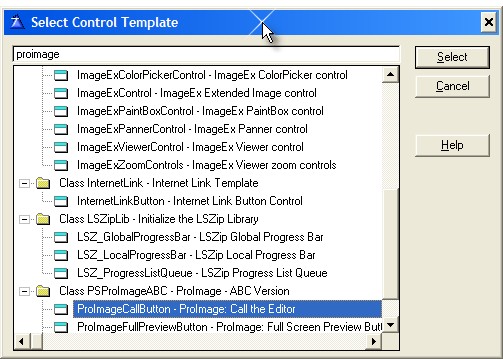
2) In the Window Formatter, add the ProImage Editor Call Button control template to the FORM where you want to call the editor.
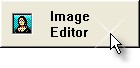
You will see this default button added:
Right-click on the button, select Properties and on the Action tab click the ProImage Editor - Call Button Settings button.
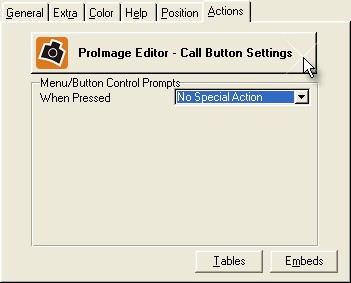
3) Click on the General tab
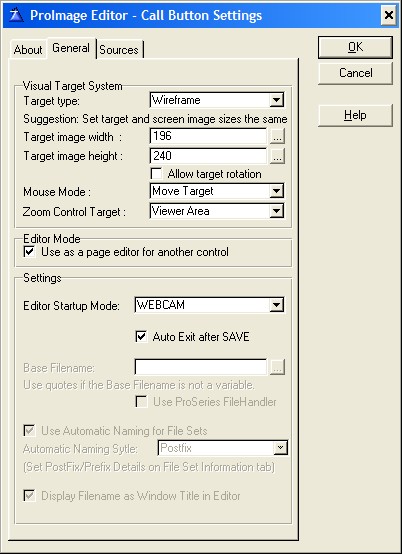
If you want the user to have a visual indicator that suggests the size of the image they will be capturing, set the target type (Wireframe is a good option usually).
Next set the final size of the image that you want to create.
Set the Mouse Mode to Move Target and the Zoom Control Target to Viewer Area.
If you have a ImageEx viewer or other control on your form, check the "Use as a page editor for another control" option.
If you want the video capture window to automatically display when the editor is opened, select WEBCAM in the Editor Startup menu.
If you want the user to automatically exit the editor when they click the save button, check the "Auto Exit after SAVE" option.
Next click the Sources tab.
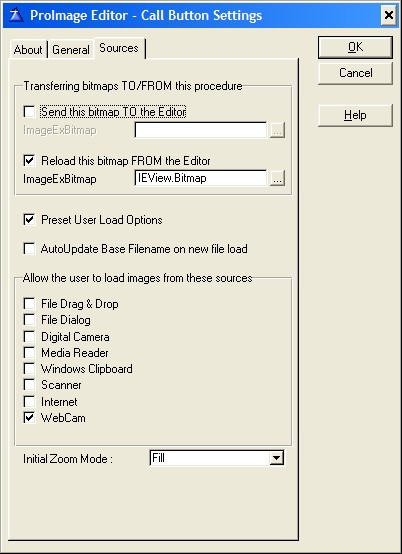
If you want the image captured from the editor to be automatically loaded back into the ImageEx control on the FORM, check the "Reload this bitmap FROM the Editor" box and enter the name of the ImageExBitmapClass object.
For an ImageEx Viewer control it will be the name of the control instance, then a period followed by the word "Bitmap".
Example: IEView.Bitmap
If your using an ImageEx Paintbox control then you use the word "Buffer" instead of "Bitmap"
Example: IEPaint.Buffer
If you want the WebCam to be the only source where a user can select the image to process, check the "Preset User Load Options" box and then uncheck everything except the "WebCam" option.
That is all there is to it!
Using these settings when the user clicks the Image Editor button, the Video Capture window will open and the procedure will automatically select the default capture driver (if one is installed).
The user will see a live preview of what the camera is seeing as shown here:
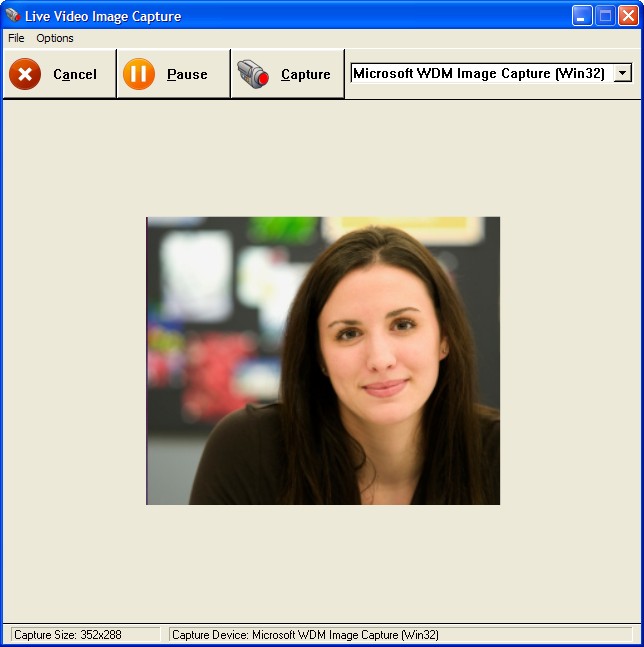
They can use the Pause/Resume button to toggle the live preview.
Then at any time they can click the Capture button to grab the current frame displayed and return it to the editor.
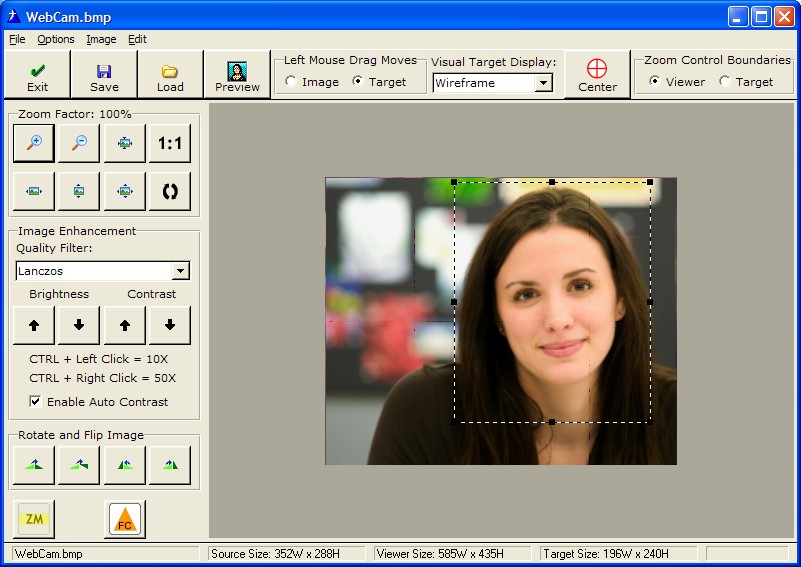
The visual target will be displayed over the image if used.
Then the user can move the target with the mouse or resize it if needed with the grab handles.
They can use other editor options to enhance the image if needed.
If they want to capture a replacement image, they can click the Load button and select the WebCam option to re-display the Video Capture window.
When the user is happy with the area selected by the visual target they click the Save button.
Then ProImage will process the user selection and return the image to the control on the parent form as shown here:

Depending on your ProImage template settings you can also Save the image to a file and optionally have that file managed for you as an external file or blob image.
See the other parts of this documentation for details on those settings.
If you do not need to allow the user to crop a portion of the image captured, you can use the capture feature without the editor.
The Live Video Image Capture Controls are discussed here.